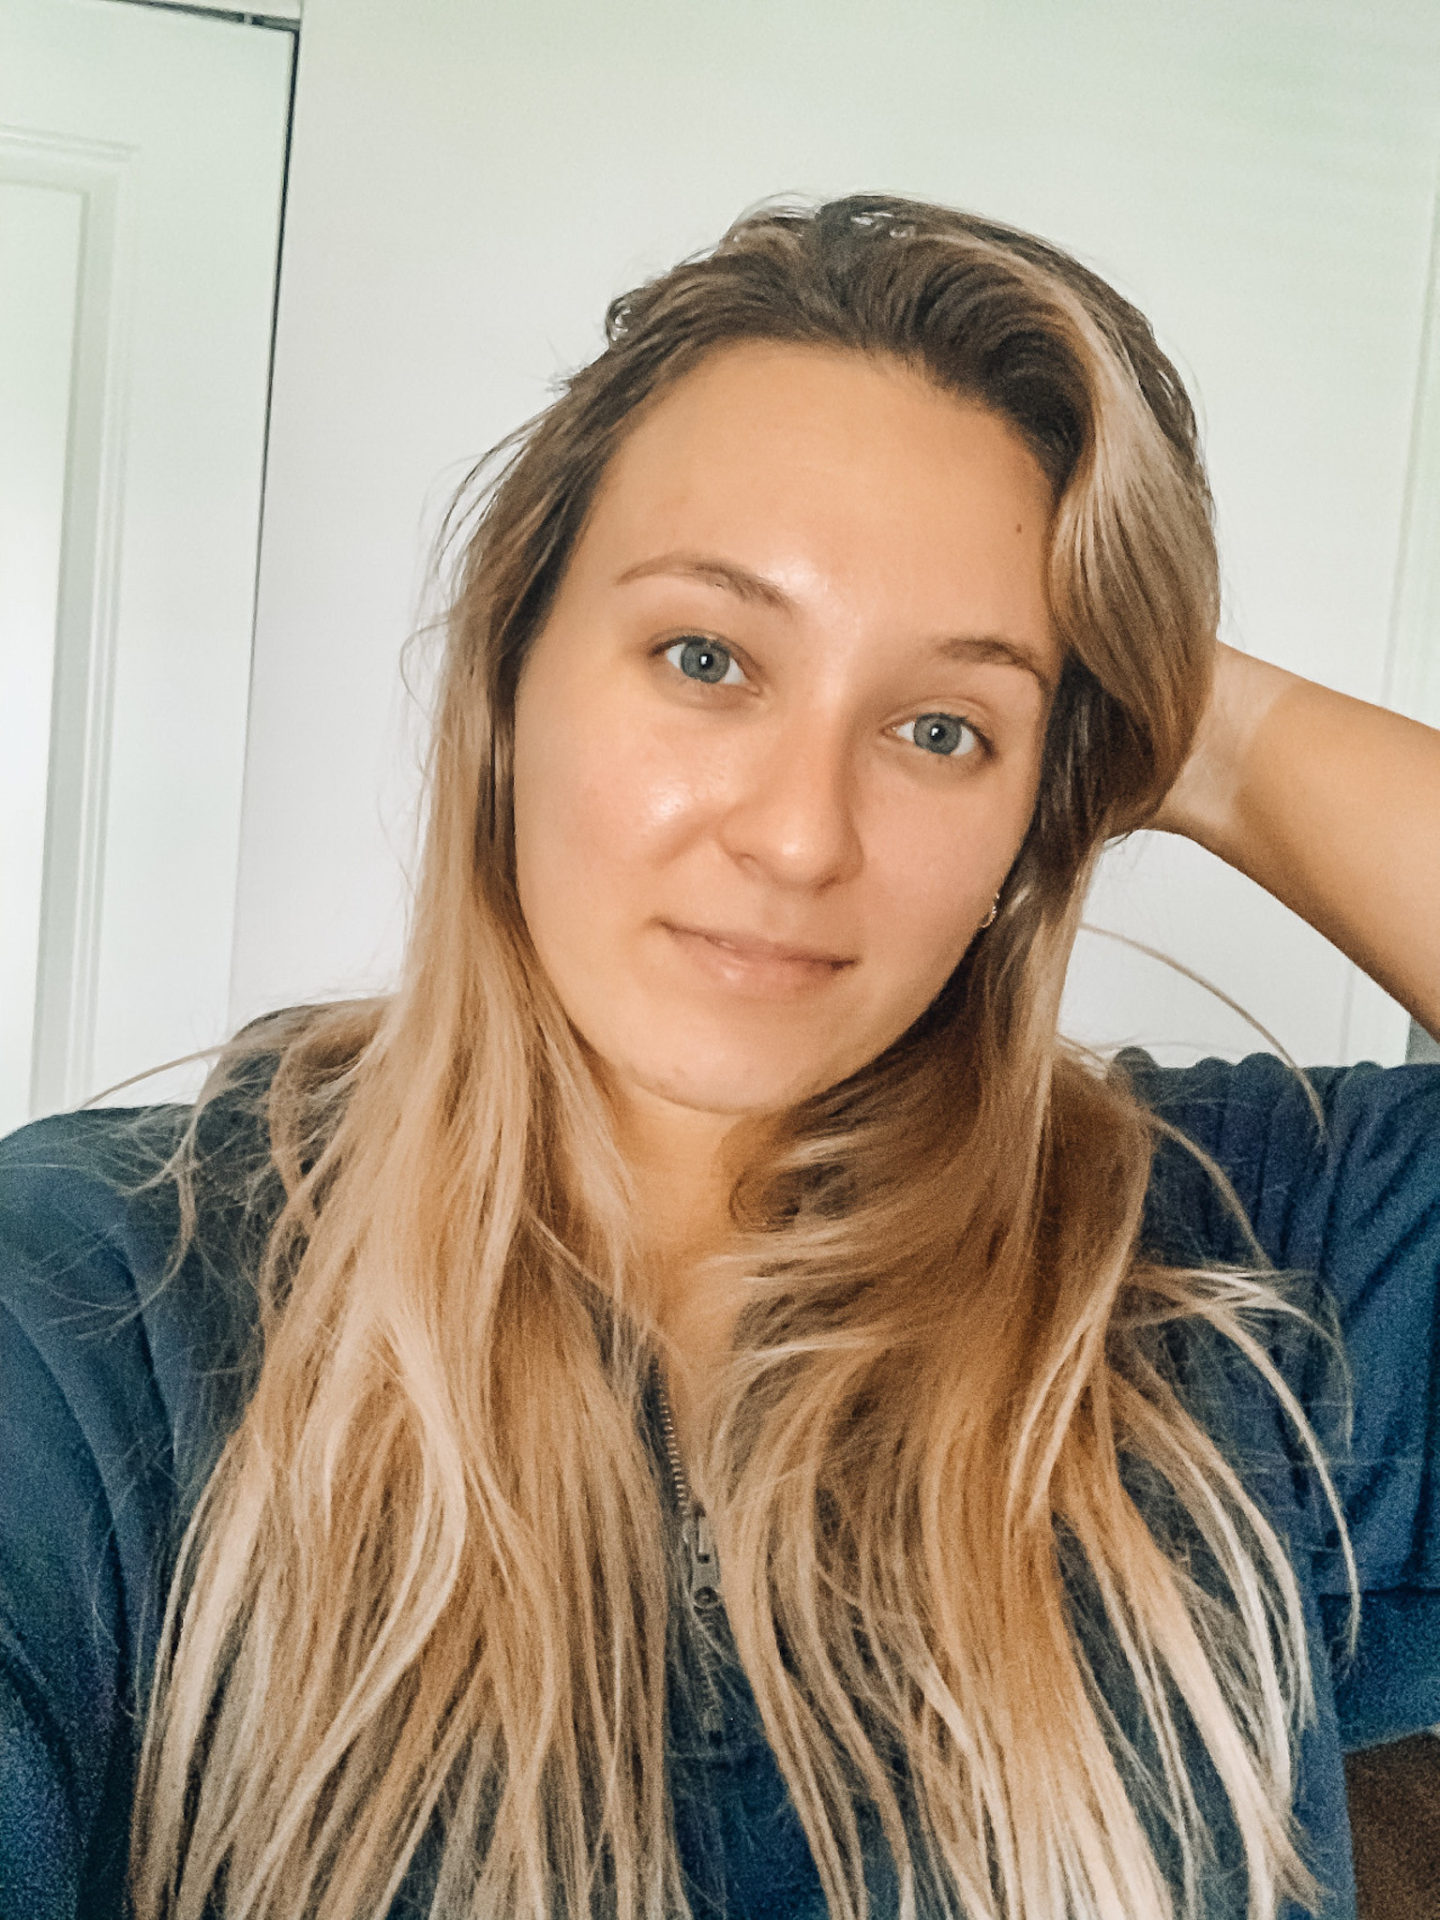
Let me paint a scenario. You’re looking at yourself in the mirror. You can’t stop looking. A sculpted jaw, defined cheekbones, an effortless glow…Did you just emerge from a century of sleep? Maybe you’ve somehow dipped into the fountain of youth. You think, wow, that extra glass of water I drank yesterday really paid off. Sure, most of these things are far fetched (except the water…always drink your water!) you can get similar results with this at home facial.
A little confused? Don’t worry. There’s no needles or filler to be found here. No lasers or high tech tools either. This is a wonderfully affordable way to give yourself a facial at home. Sound too good to be true? I promise it’s worth a shot! It will require a few products and a little work (your hands will get tired) but your face and skin will thank you!
What You’ll Need
10 minutes. A good serum. Some elbow grease. Maybe a gua sha if you want to invest in a tool, but your fingers will work just fine.
For anyone wondering what a gua sha is, it’s a natural therapy that involves “scraping” the skin with a smooth stone shaped something like a scalene triangle. You probably cringed at the word scraping, but I’d compare it much more to gliding. With a little oil on your face it can be a really pleasant experience. Plus it gives your fingers a break!
At this point in my life I’d rather take a few extra minutes to take care of my skin and give it the attention it needs than cover it and cake it with makeup. One choice will pay off in the long run. The other could get worse with time. I’ve spent this year really trying to invest where it counts in my skincare. That means double duty products just like my new philosophy with makeup. I don’t want to have a 10 step skincare routine.
The bare minimum you’ll want is a good face oil. Something that stays “slippy” so you can glide across the skin without tugging or dragging. Moisturizers soak into the skin too quickly to work for this purpose. My favorite oil for the at home facial massage is Drunk Elephant Virgin Marula Antioxidant Face Oil. It’s so good for your skin and it stays oily long enough to get the “facelift” done. It’s a little on the pricey side at first glance but it lasts a long time so it’s completely worth it.
Reveal a Healthier Face
It all boils down to the fluids lingering in your face. We’ve all got lots of lymph nodes in our faces that have a bad habit of holding on to fluids. Facial massage drains this fluid and reveals a healthier, less puffy face. You should be able to see the contours in your face better and your skin will thank you! If the outward vanity of it isn’t enough to convince you, think of the benefits of improving your circulation alone.
It’s All in the Hands
Start with your neck and glide down to your collarbone area. Take a few seconds to “pump” at the base of your neck to release and drain the fluids you pulled down. Then take your thumbs and glide them along under your chin. Every motion should feel really nice – don’t put too much pressure, but be sure you have enough pressure! Then follow the same jaw line with pinching motions, releasing any fluid build up. Don’t be afraid to utilize your knuckles as well as you pinch and roll into your cheeks. You should start seeing a better defined jawline.
Always push from the middle and move up and outwards. Transition in to pushing with your palms with big circular motions on your cheeks. Focus on lifting the skin and get the circulation going. Then take your finger tips and massage in small circles around your mouth. We’re preventing and improving those smile lines! Now push your knuckles and “hold” your cheeks up for a few seconds. Don’t worry if you feel silly…no one’s looking.
Move back to your palms and slide and lift up along your cheek. Use both hands for one cheek this time. Repeat on the other side. Now take your fingers and push, starting from the sides of your mouth, and glide all the way up over your nose. Continue between the brows and finish up and out over the brows. Then glide your hands under your eyes and really drain the fluids that like to stick under the eyes. If you suffer from any puffiness and even dark circles, put in some extra time here.
Now lift from the bridge of your nose and slide over the brow bone, repeating a few times as usual. Alternate this with the draining massage under the eyes. This one will feel a little odd, like you’re stretching the skin. You want to slide your fingers – one hand pulling down, then one hand pulling up – along your crows feet by the brows. Alternate the direction of the pull and don’t hold it long. It should look like criss cross motions.
Take this same movement to your forehead. Push up and down, zig zagging all the way across. This released the tension from your face that builds up over the day. With a claw like hand position, push up into your hairline and release any residual tension build up here. Finish with big pushing motions up the sides of the face and then downward pulls to drain it all back out. Be sure to check out the video below for a visual guide!